Assembling a gaming PC in 2019 can seem daunting to those who are new to the process, but with a little bit of research, patience, and the right tools, you can create a powerful, reliable gaming machine that will make your gaming experience even more enjoyable for years to come. In Part 3, we will be focusing on installing the CPU, the RAM, the motherboard, and the power supply.
Installing the CPU
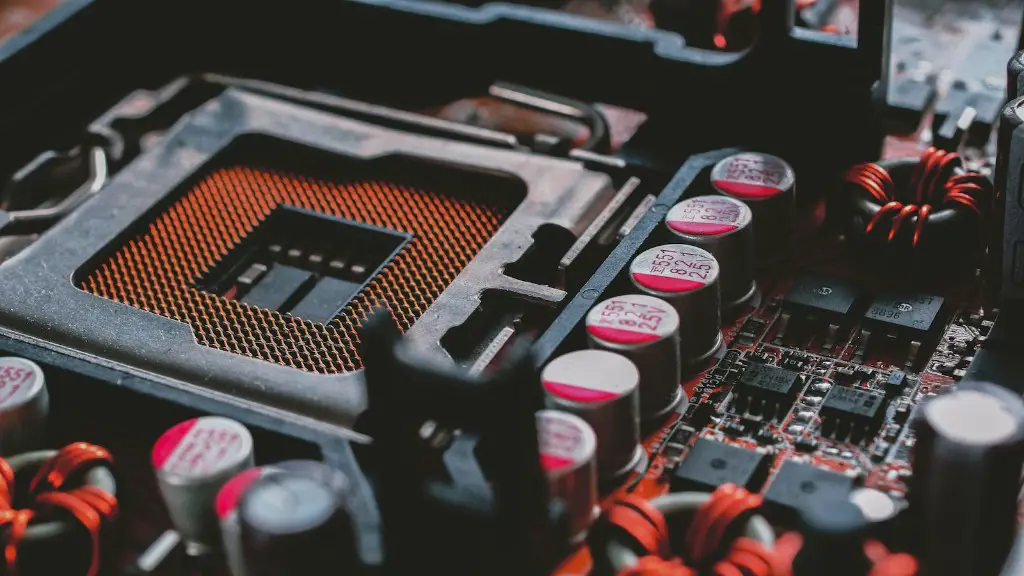
The CPU (central processing unit) is the most important component in any PC. In order to install the CPU, you’ll need to first place it carefully into the socket of the motherboard. Be sure to check your motherboard manual for instructions on how to insert it correctly. Next, apply a small amount of thermal paste to the top of the CPU, then carefully place the heatsink and fan on top of it. Finally, close the locking lever on the socket to secure the CPU.
Installing the RAM
Since the RAM (random access memory) is responsible for running the games and applications you use, it’s essential to choose the right kind and amount of RAM for your gaming PC. To install the RAM, open up your motherboard’s memory slots and insert the RAM sticks at the correct angle (consult your motherboard manual for instructions). Once you’ve firmly pushed the RAM sticks in place, close the clips to secure them.
Installing the Motherboard
The motherboard is responsible for connecting all the components of your gaming PC, so it’s important to choose the right one for your needs. To install it, first place the motherboard onto the standoffs inside the case, then line up the I/O surfboard and secure it with screws. Now it’s ready to install the other components and connect the power supply.
Installing the Power Supply
To install the power supply, you’ll need to first connect the power supply cables to the motherboard, then fit the power supply into the case. Once you’ve ensured that the power supply is securely installed, you can plug the power cord into it and turn your gaming PC on.
Developing a Cooling System
No matter how powerful your gaming PC is, it can quickly overheat if there is not an adequate cooling system. To develop an effective cooling system, be sure to buy fans with high airflow rates and place them strategically inside the case. Additionally, you may want to consider investing in water cooling to ensure your CPU and other components stay cool during intense gaming sessions.
Cabling Your PC
Once you’ve installed the main components of your gaming PC, it’s time to route and connect all the cables. Depending on the type of components you use, there may be a lot of cables to manage. Take your time and be sure to label the cables to reduce the chances of a wiring mistake.
Installing the Operating System
The last step is to install the operating system. Insert the installation disc into the CD/DVD drive and follow the instructions on the screen to install the operating system. Once the installation is complete, you can begin downloading the necessary drivers and software to optimize your gaming PC.


