If you’ve been looking to build a gaming PC, you’ve come to the right place! The truth is, there’s no single right way to go about purchasing gaming PC parts, as it ultimately depends on several factors, such as budget and your gaming needs. That said, there are several tips that’ll help make your purchase as informed and successful as possible. Read on to learn how to buy gaming PC parts and create your own beastly gaming system.
Analyze Your Gaming Performance Needs
Before you start shopping for parts, you’ll need to analyze your gaming performance needs. Start by taking stock of the games you’ll be playing, as well as how often you plan to game. Don’t forget to consider the maximum display resolution you will be using as well. Knowing these variables will not only guide your purchasing decisions, but will also inform the kind of setup you decide to pursue.
Set a Hardware Budget
After factoring in your gaming needs, you’ll need to set an appropriate budget. It’s easy to get carried away with all the awesome parts on the market, but it’s important to stick to a sensible budget. Keeping an eye out for discounts and promotions can often help you get the most bang for your buck.
Pick Your Parts Wisely
Now it’s time to pick your parts. Start by selecting your parts with an eye toward balance. That is, never buy a super-high-end component for one aspect of the system and go for something a step below for another. Aim for the sweet spot throughout your parts selection. Additionally, it’s important to do your research when shopping around. Read reviews and peruse benchmarks in order to make sure you’re getting the best parts for your setup.
Do Not Overclock Immediately
Overclocking can squeeze additional performance from select parts by running them at speeds higher than their rated specs. This can take your gaming performance to the next level, but you should avoid overclocking right off the bat. Since overclocking has its risks in terms of component longevity and stability, hold off until you have time to get familiar with the ins and outs of overclocking. Once you’re ready, many of today’s chipsets come with various levels of overclocking protection.
Consult Popular PC Build Websites
If all of the previous steps have you feeling overwhelmed, take a deep breath and relax. You don’t need to go it alone. Although there are multiple resources to consult when putting together your own gaming PC, one of the most helpful is a popular PC build website. These websites tend to offer ready-made parts recommendations for gaming PCs that meet certain performance requirements, making your job—and wallet—much more manageable.
Think About the Extras, Too
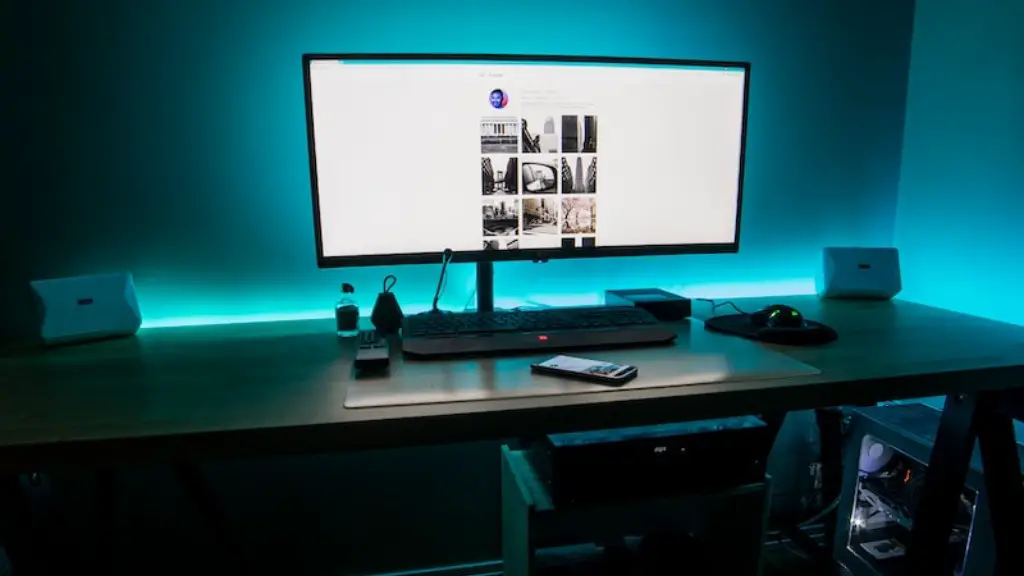
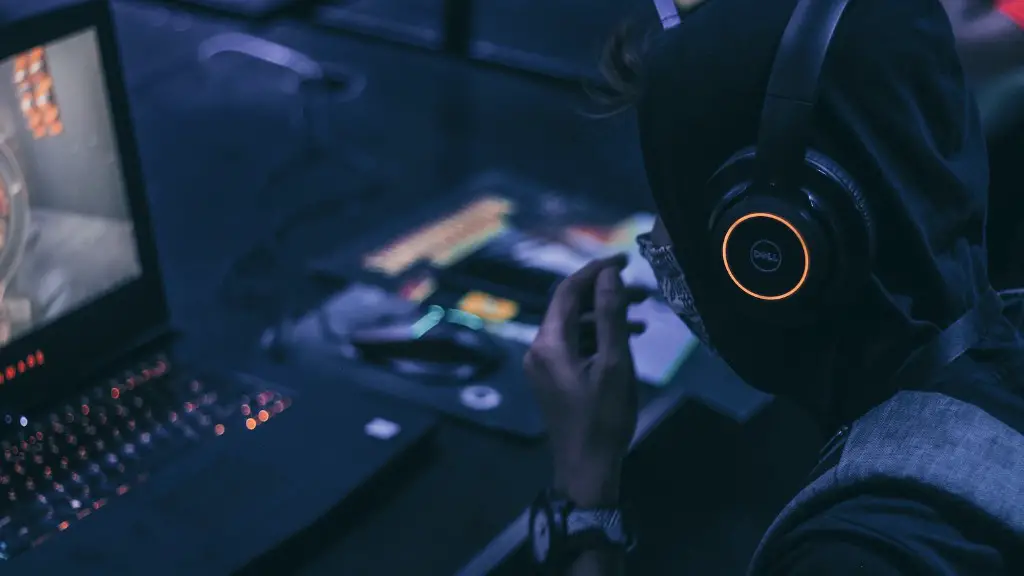
Finally, don’t forget to think about the extras, such as a gaming mouse, a gaming headset, and a gaming monitor. All of these items have their pros and cons (not to mention price points). As always, you’ll need to consider your budget and performance needs. Additionally, consider how these components will integrate with the rest of your setup. Many gaming mice, for example, pair nicely with RGB keyboards.
Evaluate Performance Once You’ve Assembled Everything
Once you’ve assembled your gaming PC and connected everything to your monitor(s), you’ll need to evaluate your gaming performance. To do this, try performing different benchmarks that are relevant to the games you’ll be playing. This will give you an idea of where your performance stands, which will in turn allow you to narrow down potential improvement and areas of concern.
Benchmark Gaming Performance To Check CPU or GPU Thresholds
To accurately benchmark gaming performance, there are several tools that you can use. One of the most popular is 3DMark, which is available for both Android and iOS. It allows you to compare your performance against many other gaming PCs by giving you scores that reflect frames per second and CPU or GPU thresholds. This can be very useful in determining parts upgrades or replacements that you may need in order to maximize your gaming performance.
Experiment With Settings to Optimize Gaming Performance
It’s also possible to experiment with different settings that may impact gaming performance. Depending on the game, you might try increasing the game’s resolution or reducing graphical details in order to get the highest performance out of your gaming PC. Alternatively, you could try overclocking specific components in order to squeeze out extra game performance. Be sure to read the game’s manual to learn how to tweak settings for optimal performance.
Optimize Drivers To Eliminate System Bottlenecks
Driver optimization is key to eliminating system bottlenecks. Poorly-optimized drivers can cause a wide variety of issues, including stuttering, lag, and low frame rates. It’s important to make sure that all of your drivers are up to date in order to ensure the best gaming performance. If you’re unsure which drivers need updating, you can download a driver update tool to ensure your hardware is running the most current software.
Try Different Games To Test PC Performance
Once you’ve optimized your drivers, you should try out different games in order to test your PC’s performance. Try running a few of the more graphics-intensive titles that you’re interested in playing at maximum settings to see how your gaming system fares. Tweak game settings as necessary to achieve optimal gaming performance. Additionally, take note of any game performance issues that you may encounter in order to troubleshoot the problem.


