Building a gaming PC can be an exciting, affordable, and rewarding experience. In this guide, I’ll walk you through the essential components, step-by-step instructions, and considerations you need to make when custom building your gaming PC.
First, you’ll need to consider what components you need. You’ll want to choose a graphics card, processor, motherboard, RAM, storage, power supply, and case with enough power and capacity to fit your gaming needs. Additionally, you’ll also want to choose additional components, such as a monitor, keyboard, and mouse, to accommodate your gaming setup.
Next, you’ll need to assemble the components. This can be done by following the instruction manuals provided with your components. Additionally, there are many online tutorials that can provide more detailed guidance. When assembling the components, it’s important to handle them with care and to properly connect the cables and connectors.
You’ll also need to install the operating system and other software. Many components come with their own software, which will need to be installed. Additionally, you’ll need to install the latest driver software for each component. This allows the computer to recognize and work with the components properly. Make sure to follow the instructions that come with each component to ensure the installation process is successful.
Once the components have been installed, it’s time to test the gaming PC. This can be done by using diagnostic software to check the performance of each component. Additionally, you’ll want to try playing a game or two to ensure the system is performing as expected.
Finally, you’ll need to customize the gaming PC to your preferences. This includes installing additional software, such as anti-virus and security programs, as well as customizing the look of the desktop background and other settings. Additionally, you’ll want to adjust the power settings to ensure the gaming PC is running at its optimal performance level.
Choosing the Right Components
When custom building a gaming PC, you’ll need to carefully choose the components you want to use. You’ll want to make sure the components you choose are appropriate for the type of gaming you’ll be doing. This means considering factors such as the type of games you want to play and the settings you want to use. More specifically, you’ll want to choose a graphics card, processor, motherboard, RAM, storage, power supply, and case with enough capacity and power to meet your gaming needs.
When it comes to the graphics card, you’ll want to choose one with a high amount of video memory and a high frame rate per second. This will ensure the graphics in the game look realistic and smooth. Additionally, you’ll want to choose a fast CPU and plenty of RAM to ensure the gaming PC can handle the game’s processing needs. Finally, you’ll need to make sure the motherboard is compatible with your chosen components and has enough slots for expansion.
When selecting storage, you’ll want to consider how much data you’ll need to store. Large games can take up a considerable amount of space, so if you plan on playing games with high storage demands, you’ll want to choose a larger storage capacity. Similarly, if you only plan on gaming occasionally, a smaller capacity storage drive may be sufficient.
For power supply, you’ll need to make sure it has enough power to supply the components. Generally, 500-600 watts is a good amount of power. However, if you opt for higher-end components, you may need a higher wattage. Additionally, you’ll want to make sure the power supply is compatible with your chosen case.
Finally, when choosing a case, you’ll want to choose one that can properly fit all of your components. If you plan on expanding your gaming setup in the future, you may want to opt for a larger case that can accommodate more components. Additionally, you’ll want to make sure the case has good ventilation and cooling to ensure the components don’t overheat.
Installing the Components
Once you’ve chosen the components for your gaming PC, it’s time to install the components into the case. This involves carefully connecting and positioning the components, as well as connecting the cables and connectors between the components. When connecting the components, it’s important to follow the instructions provided with each component and handle the components with care.
Additionally, there are some additional steps you can take to make the installation process easier. For example, if you have a large graphics card, you may need to remove a plate on the back of the case to allow the graphics card to be installed properly. You’ll also want to make sure all of the components are properly situated within the case to ensure proper airflow and cooling.
When connecting the cables and connectors, you’ll want to make sure the connections are secure and all the cables are routed properly. Additionally, you’ll want to check for power short-circuits by positioning the cables away from any source of heat. If you do notice a short-circuit, take the necessary steps to correct it before continuing the installation process.
Finally, once the components have been installed, you’ll want to apply thermal paste to any exposed CPU and memory chips. This will ensure the chips are properly cooled and can perform at the optimal level. Additionally, if you have an RTX graphics card, you may also want to apply thermal paste to the back of the graphics card.
Installing the Operating System and Software
Once the components have been installed, it’s time to install the operating system and necessary software. For Windows, you’ll need to install an Activation Key to activate the system. You should be able to find the key on the packaging of your components. Additionally, you’ll need to install the latest driver software for each component. This is important to ensure the components work properly with the operating system.
In addition to the components and software, you’ll also want to install other software to secure and protect your gaming setup. This includes anti-virus and security programs, which may be included with your components or can be downloaded from the internet. Additionally, you may want to install optimization software to improve the performance of your gaming PC.
You’ll also need to customize the gaming PC to your preferences. This includes changing the desktop background, adjusting the power settings, and adding additional software and programs. Additionally, you may want to install additional gaming software and tools, such as game emulators and tweaking programs, to further customize the gaming experience.
Testing the Gaming PC
Before you can use your gaming PC, you’ll need to test it to ensure the components are working properly. This can be done by using diagnostic software to check the performance of each component. Additionally, you’ll want to try playing a game or two to make sure the graphics card and other components are working properly.
If you find any issues, you’ll need to troubleshoot and find the source of the problem. This can be done by checking for any loose connections and making sure the components are firmly placed in the case. Additionally, you may want to try uninstalling and re-installing the software and drivers to make sure the components are being recognized properly.
Additionally, once you’ve tested the gaming PC, you’ll want to make sure you have adequate ventilation and cooling. If you find your components are running hotter than usual or that they’re suffering from thermal throttling, you may need to add additional fans to your case or apply thermal paste to your components.
Customizing the Gaming PC
Once the gaming PC has been tested and you’re sure it’s in working order, it’s time to customize the PC to your preferences. This includes changing the desktop background, adjusting the power settings, and installing additional software and programs. Additionally, you’ll want to check the settings of each game you plan on playing to make sure it runs properly.
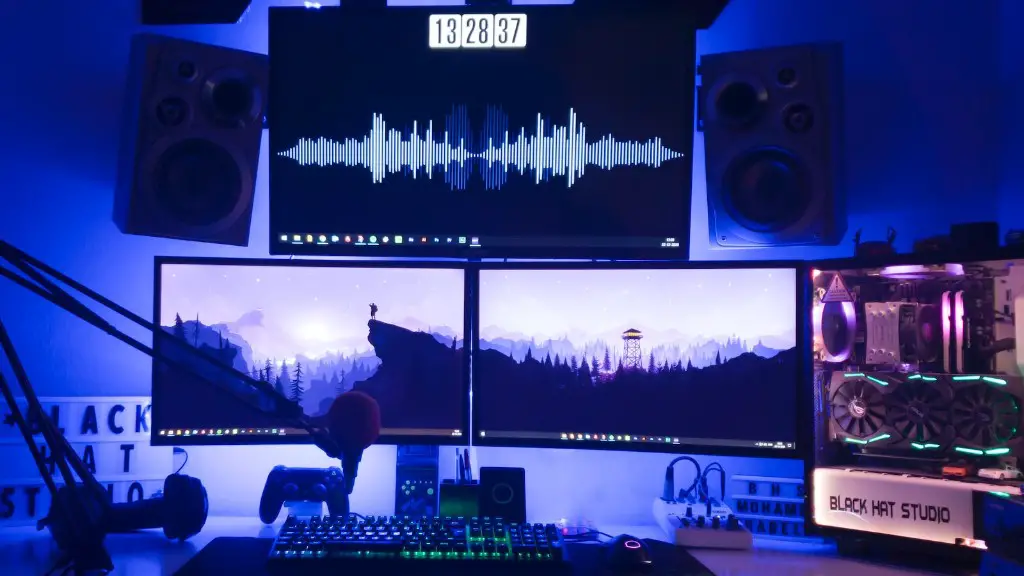
You may also want to add additional hardware to your gaming PC. For example, you may want to add an external graphics card for higher-end gaming or add a second monitor for a larger gaming area. Additionally, you may want to consider adding a cooling system, such as liquid cooling or a larger fan, if you find your components are running hotter than normal.
Finally, you may want to add a gaming chair or other accessories to complete your gaming setup. This can include a gaming chair, headset, or surround sound system. Additionally, you may want to consider making modifications to the case itself, such as adding window panels or RGB lighting, to make your gaming PC stand out.


