Building a gaming PC from scratch requires diligence, patience, and lots of research. The term ‘From Scratch’ means starting with the essential components and putting everything together to build a functioning PC. This type of a build will help you understand the various components and their purpose more clearly, allowing you to make a more informed buy when selecting components. To get the most out of your gaming PC build, it’s important to know that your budget, the purpose for which you’re building the PC, and the games you’ll be playing, are all factors that must be taken into account. In this guide, I’ll cover the necessary components for a powerful gaming build, tips for assembling your own PC, and tips for choosing the best components for your budget and gaming needs.
To start, you need to decide on the parts you’ll need to build your gaming PC. These include a motherboard, a CPU, a graphics card, RAM, storage, a power supply, and a case. Depending on your needs, you may also want to include a fan, a liquid cooling system, or even a gaming mouse and keyboard. Most of these components will require at least some research and understanding of their purpose and compatibility with other components. If you’re new to PC building, it can be helpful to check out reviews from reputable tech review sites to get a better sense of what peripherals and components to choose.
Once you have all the necessary components, it’s time to put your PC together. You’ll need an anti-static strap, some screwdrivers, a Phillips head screwdriver, and a pair of pliers. Carefully open the case and carefully remove any unnecessary and loose components or cards. Install the motherboard by carefully screwing it into the case, ensuring all ports and connectors are correctly aligned. Take care to not over or under-tighten the screws. Next, install the CPU and make sure it is correctly mounted and secured with the correct cooler. Insert the RAM into its designated slots and connect the power supply.
Install the graphics card, the storage drive, the additional fan and peripheral components, and then connect the cables. Ensure that the cables are connected to their appropriate components and do not cross any path of the motherboard or CPU. Connect all the power cables, starting with the 24-pin power connector, then the CPU power connector, the memory power connector, the graphics card power connector, and the storage drive power connector. Make sure to connect all the power cables before plugging in the power supply.
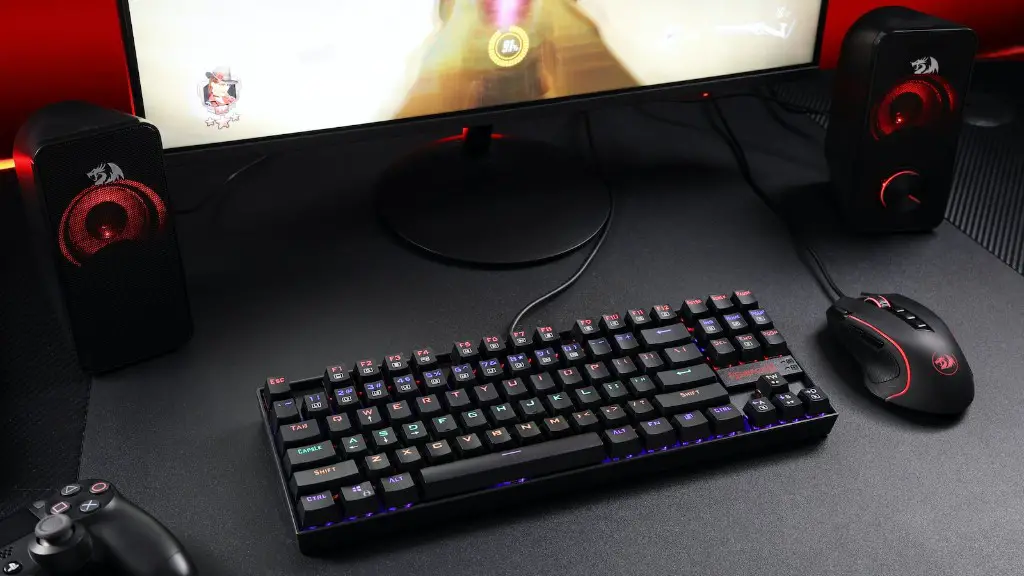
Connect all the output cables, starting with the monitor, then the keyboard and mouse, and then the USB ports. Once all the components are connected and ready, close the case and plug it in to start your PC. You’ll need to install an operating system, such as Windows 10 or a Linux-based distro, in order to make use of the PC. Now you have a fully functioning gaming PC build, ready to handle any game you throw at it!
Choosing the Right Components
Choosing the right components is essential for building a powerful gaming PC. Depending on the games you plan on playing, it’s important to select components that can meet the demands of gaming. High-end games require high-end components, but you don’t need to spend a fortune. Finding the best components for your budget is the key to getting the biggest bang for your buck. Consider the ports and features on the components to make sure they are suitable for your needs. Also, make sure to check the form factor, which indicates the size and shape of the device.
For processors, the most important factor to consider is the number of cores and threads. Generally, the more threads a processor has, the better it will be for multi-tasking. When it comes to graphics cards, the higher the memory, the better the performance. Memory should be matched with the processor in order to get the best results. Depending on your budget and usage, you can choose from high-end cards down to entry-level cards. While more RAM can improve your gaming experience, it’s important to choose the type and speed of RAM that is compatible with your motherboard and processor.
Storage is an important factor for gaming performance since games require a significant amount of space. If you’re serious about gaming, opt for an SSD, as it will provide faster loading times. HDD are cheaper and can provide more storage, but they’re slower. Finally, the power supply should be chosen based on the components as you don’t want to overload it. Choose a power supply with a wattage that’s enough to power all your components.
Choosing the Best Case
A case is just as important as your gaming components, as it provides a place to house all the components and keeps them safe from dust and other damage. Cases come in a variety of form factors, ranging from full tower to Mid-Tower and even MiniITX and MicroATX, so it’s important to choose one that has enough room for all of your components. Generally, larger cases provide more possibilities for cooling, which can lead to better performance, but require more space. It’s also important to consider the build quality and material of the case, and if the design is stylish enough to suit your needs.
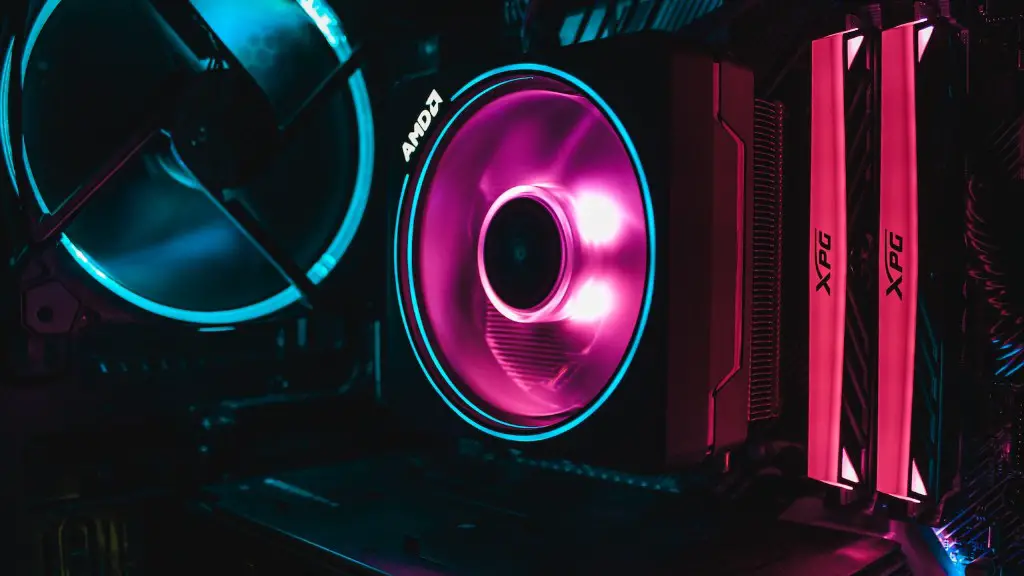
When it comes to cooling, a case with plenty of fans and adequate airflow is necessary. It’s advisable to get a case with plenty of fan mounts so you can customize the cooling to your components. Look for features such as dust filters and cable management, which can help reduce cable clutter and keep your gaming PC clean. Also, make sure to check if your components are supported in the case, as some cases are designed to support specific hardware.
Installing the Software
Once you have all the hardware assembled, you’ll need to install the software. As the foundation of your gaming PC, the operating system is a must. Windows 10 is the most popular choice, but if you’re looking for something more customizable, then Linux is a great option. Once you have the operating system installed, you’ll need to install all your drivers and other software such as antivirus, a web browser, etc. After everything is installed, it’s important to spend some time configuring and optimizing your system for gaming so that you can take full advantage of your gaming PC.
If you want the best gaming performance, you should overclock the components. Overclocking allows you to get more performance out of the components by increasing the clock speed beyond the manufacturer’s specifications. This process can be done with software, such as AMD Ryzen Master or Intel XTU, or manually through the BIOS. However, overclocking can be dangerous and can damage your components if not done properly, so you should only attempt it if you know what you’re doing.
Optimizing the system also means making minor adjustments in the BIOS to ensure your gaming PC is stable and running at its best. You can also use third-party software to further optimize performance, such as Game Booster or GeForce Experience. Before long, you’ll have a powerful gaming PC that’s ready to take on the latest games.
Upgrading the Gaming PC
Upgrading the components of your gaming PC is necessary for improved performance and better graphics. Start by upgrading the processor to the latest and most powerful model on the market, as this will directly affect the performance of your gaming PC. The same goes for the graphics card, which should be upgraded to the latest generation for improved graphics and a better gaming experience. It’s also important to upgrade the power supply and the cooling system if needed, to keep your components running at peak performance.
RAM and storage should also be upgraded for better multitasking and faster access to data. SSDs are always a good choice, as they provide faster access to data than HDDs. It’s important to ensure the RAM and storage are compatible with the motherboard and other components. Finally, you can upgrade the case if needed to provide better cooling as well as a more stylish look.
These are just some of the tips and tricks you need to know when building a gaming PC from scratch. With proper research, a good budget, and lots of patience, you can build a powerful gaming PC that will last for years to come. This type of build will allow you to customize your gaming PC according to your needs, and will be worth the time and effort you put into it.
Estimating Cost and Budgeting
Budgeting and estimating your costs is one of the key aspects of building a gaming PC. Depending on the components you choose, your total cost of building the gaming PC can vary significantly. Start by making a list of the components you’ll need and researching the cost of each component. Then, calculate the total cost of the components to get an estimate of the total cost. This will let you know how much you need to spend and adjust your budget if needed.
You’ll also need to factor in shipping and taxes for each component, which can further increase your total cost. It’s important to note that the components listed are only a guideline, and you may find better deals or more suitable components during your research that can help bring down the cost. If you’re on a tight budget, you can also look for good used components, but make sure to check for wear and tear before buying.
Once you’re done budgeting and estimating the cost, it’s time to decide when to buy the components and where to buy them from. It’s best to purchase the components during sales and discounts, as this can help you save a lot of money. Research the retailers and compare their prices before making the purchase. You should also factor in the warranty, delivery charges, and shipping times before making a purchase.
PC Assembling and Maintenance
Assembling the components is the next step towards building your gaming PC. As mentioned before, it’s important to wear an anti-static wrist strap while assembling the PC to avoid accidentally frying the components. Take your time with the assembly and be extra careful when handling delicate components. Make sure that the ports and connectors are aligned correctly and check the cables for any frayed ends. It’s also important to keep all the screws organized, as it will make putting the components back together much easier.
Finally, all that’s left is the maintenance of your gaming PC. Make sure to keep the components clean and dust-free to ensure proper air circulation inside the case. Check the cooling system periodically to ensure it’s working properly. Update your drivers and OS to the latest versions for improved performance and stability. You can also use third-party software for monitoring the temperature and performance of your components.
With proper care and maintenance, you’ll be able to keep your gaming PC in peak condition for years. Building a gaming PC from scratch requires lots of research and patience, but it’s worth it if you want a powerful gaming PC. This guide should have given you a good idea of the components you need and the tips and tricks to follow while building and maintaining your gaming PC.


