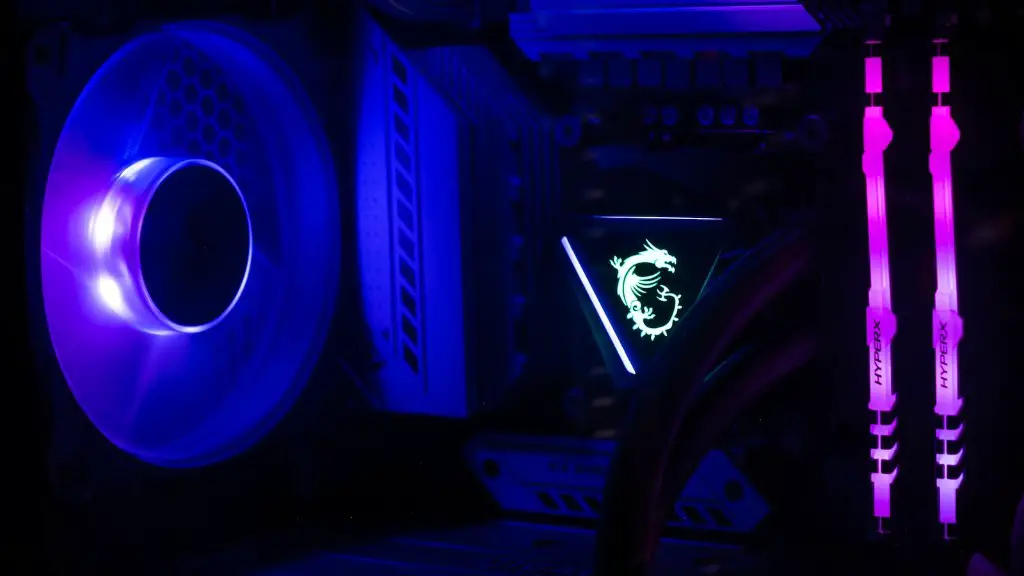
Building an extreme gaming PC isn’t a walk in the park but with a bit of planning, the right components and a few tricks, it gets much easier. Here are the steps to building an extreme gaming PC that’ll help you get the job done in no time.
1. Determine Your Budget: Setting a budget before purchasing your components is an important step. You should factor in costs such as the CPU, graphics card, case and all other peripherals such as a monitor, keyboard, mouse etc. Once you’ve established a suitable budget, you can narrow down the components that offer the best bang for your buck.
2. Settle on a CPU: The processor is the most important component of your extreme gaming PC, since it determines the speed of your machine. High-end CPUs from brands such as Intel and AMD offer great performance and can be overclocked for even more power. Make sure to spend your money wisely on the CPU, as it will be the heart of your gaming PC and can make or break your gaming experience.
3. Select a Graphics Card: Once you’ve settled on a processor, you can move on to selecting a graphics card. In order to get the most out of your gaming PC, you’ll need a high-end graphics card that can handle the latest games. NVIDIA GeForce and AMD Radeon cards both offer great value and performance.
4. Get the Right RAM: Random Access Memory (RAM) is also an important factor when it comes to building a gaming PC. Make sure you get the right RAM for your processor and graphics card, as this will ensure that all your components are running smoothly.
5. Choose a Case: Once you’ve got all your components sorted, the last step is to select a case for your extreme gaming PC. There are a number of options to choose from, from big tower cases to small mini-tower cases. Whichever case you choose, make sure it has enough space for all your components and airflow.
6. Install Your Components: With all your components selected and the case ready, it’s time to install your components into the case. This can be a time-consuming process, so make sure you have the correct tools on hand such as a screwdriver and a pair of pliers.
7. Set Up Your PC: When you’re finished installing the components, you can set up your PC by connecting all the cables and connecting your monitor, keyboard, mouse and other peripherals. Once all the connections are made, you can boot up your PC and get some gaming on!
Essential Hardware
The first step in creating an extreme gaming PC is to equip it with the right hardware. This includes the motherboard, CPU, RAM, graphics card and case. A good motherboard should be compatible with your processor, have plenty of ports for peripherals, and enough bandwidth to support your graphics card. The CPU should be powerful enough to run the latest games, with the option for overclocking for even better performance. And you’ll need plenty of RAM, whether it be DDR4 RAM or the more advanced DDR5 RAM, to keep your system running optimally.
It’s also important to choose a graphics card that offers great performance when it comes to gaming. High-end graphics cards from NVIDIA and AMD are often the go-to choice for extreme gaming PCs. They offer excellent performance and come in a wide range of options, so you can find one that fits your budget. Lastly, the case will be the home of your new gaming PC. It should be spacious enough to accommodate the hardware and provide adequate airflow, and good looks are always a plus.
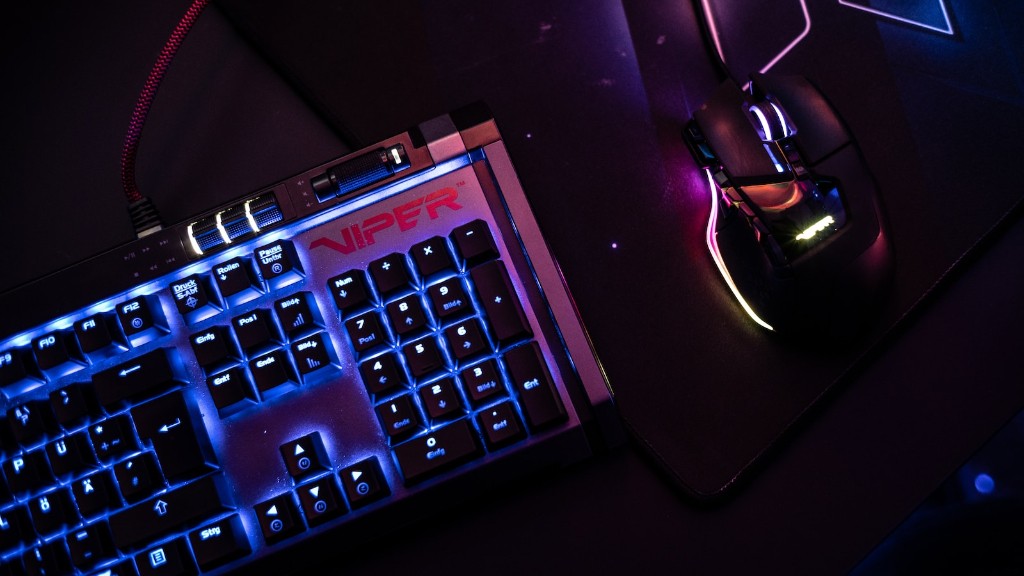
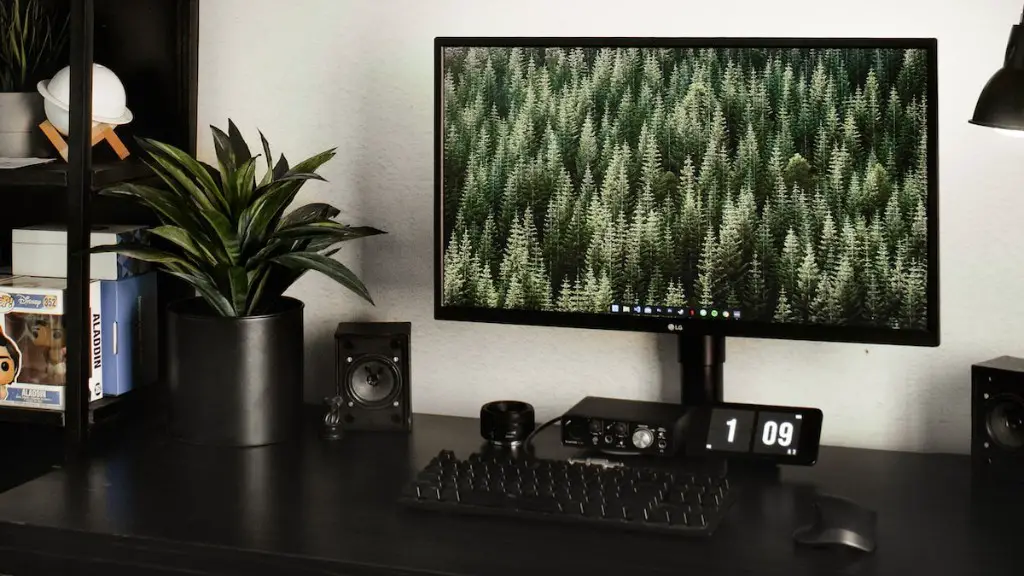
Finally, it’s important to make sure you get the right accessories for your gaming PC. A reliable monitor is essential for gaming, as is a good keyboard and mouse. You’ll also need to invest in a good pair of headphones to get the most out of your gaming experience. And don’t forget about the software side of things. You’ll need an operating system like Windows 10, as well as any additional programs and games you plan on playing.
Building The PC
Once you have all the hardware and accessories, it’s time to build the extreme gaming PC. Make sure you have all the necessary tools and organized, like a screwdriver and pliers. It’s also a good idea to have a good tutorial video to help you with the process. Installing the motherboard, CPU, RAM and graphics card is relatively straightforward and should be done carefully.
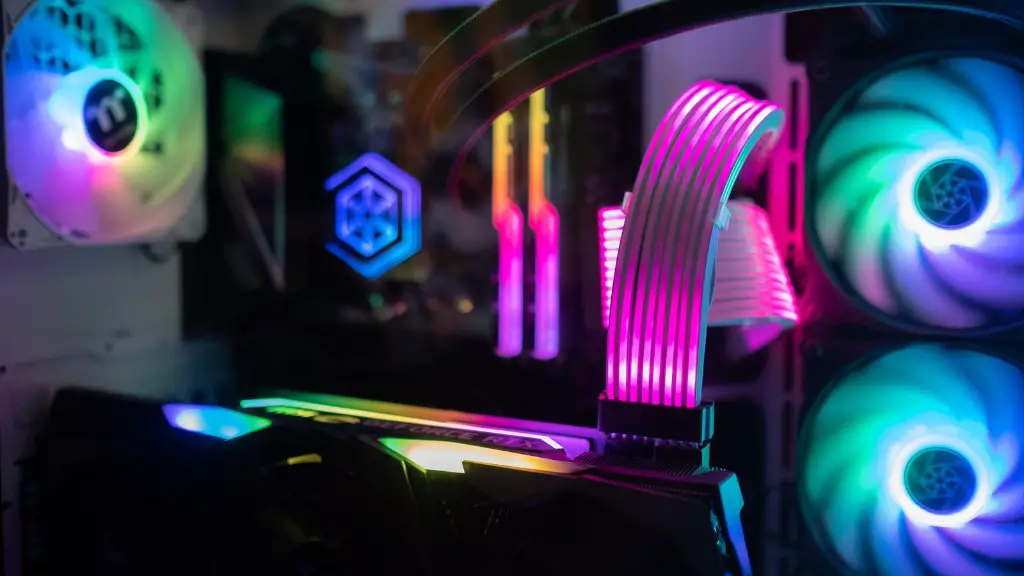
Once all the components are installed, it’s time to connect all the cables. This includes the power supply, case fans and other peripherals. Make sure to double-check all the connections for any loose wires or broken cables, as this could cause serious damage to the hardware. Once all the cables are connected and tested, it’s time to plug in and boot up the PC.
Before the computer can be used for extreme gaming, the software needs to be installed. This includes the installation of an operating system and any extra programs and games. Windows 10 is the most popular choice for extreme gaming, but there are other options as well. Make sure to update all the necessary drivers and software, as this ensures optimal performance.
Optimizing Performance
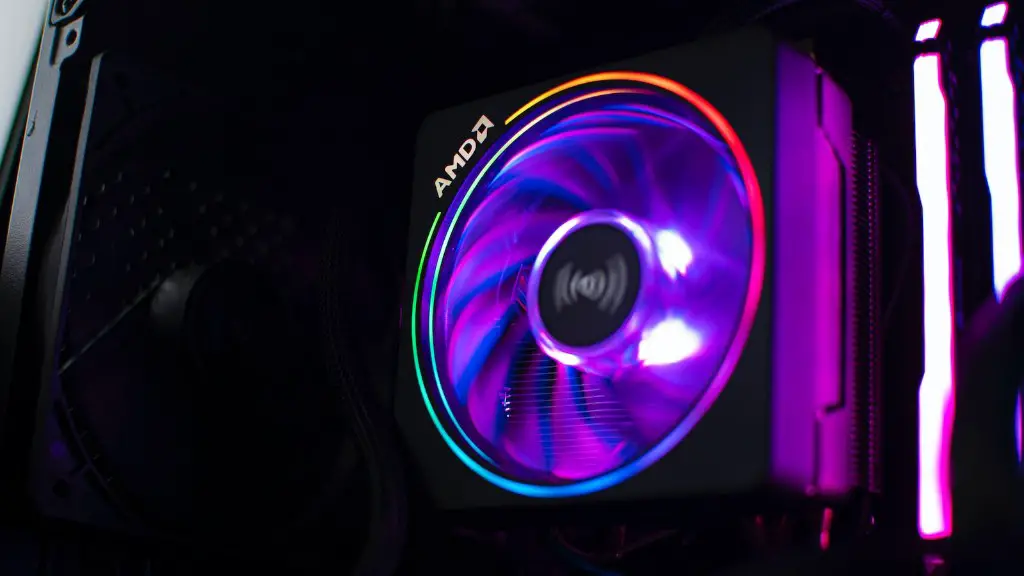
Once the PC and software are up and running, there are several things you can do to ensure optimal performance and get the most out of the system. First and foremost, ensure that the PC is kept clean and dust-free, as this will help keep things cool and prevent hardware deterioration. If possible, invest in a good cooling system such as a fan or water cooling system. This will help keep your components running at optimal temperatures for maximum performance.
Overclocking is also an option for extreme gaming PCs. Overclocking increases the performance of the processor and graphics card, but it can also increase the temperature of the components. Make sure you have the necessary cooling and system settings to prevent any hardware damage, as this is an important factor when it comes to overclocking.
Finally, it’s important to make sure the software is more than capable of handling the hardware. This means making sure the drivers are up to date and that your games are running at the highest settings. Additionally, if possible, try to update your games with the latest patch to ensure optimal performance and playability.
Testing the System
After all the components have been assembled and the software has been updated, it’s time to put the system to the ultimate test. This can be done by running benchmark tests to check performance, as well as playing intense games to assess how well it runs. Make sure to take note of any issues that arise, as this will help you figure out what needs to be changed in order to optimize the extreme gaming PC.
It’s also a good idea to measure temperatures while gaming and during idle periods. This will help you ensure that the system is kept cool and operating at an optimal level. Additionally, you can benchmark the system against an online standard, to determine how it compares to other extreme gaming PCs.
Conclusion
Building an extreme gaming PC is no easy feat, but with the right components, some tweaking and a bit of luck, you can create a gaming rig that can rival the best. Make sure you invest in the right components, configure the system and test it thoroughly to ensure optimal performance. With a bit of patience, you can build an extreme gaming PC that will help you dominate the competition.
