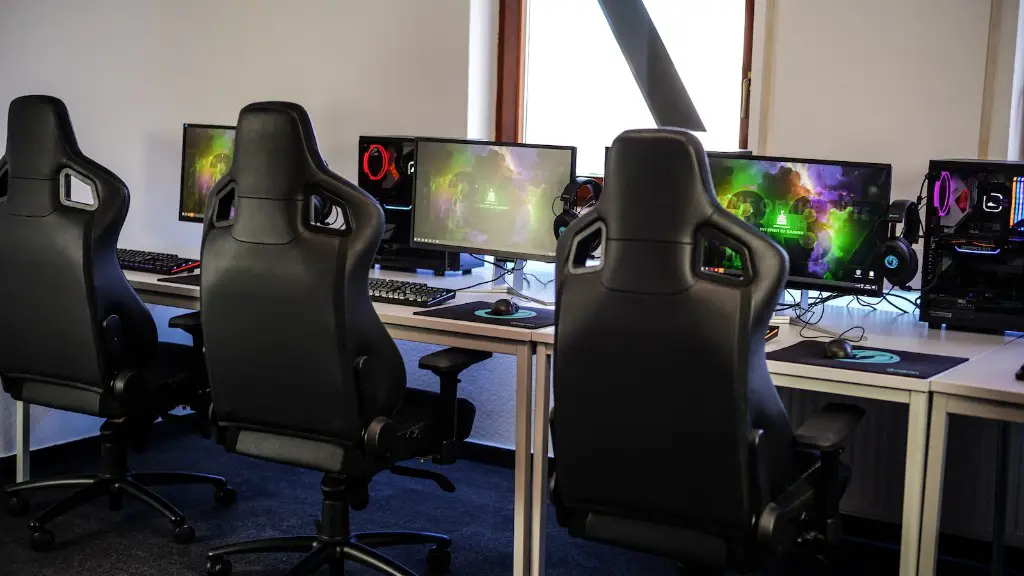
Building a gaming PC can be a fun, exciting, and rewarding experience. There are many different components and setup options for you to choose from, and proper research and careful planning are key to optimizing your build and preparations. To get the most out of your gaming PC, here’s a comprehensive guide on how to assemble and configure your gaming machine.
The first step is to decide on the components you will use. Your choice of components will depend on your budget, the type of games you plan to play, and the settings you want to play them on. You should research each component individually and consider its purpose, compatibility, and performance when considering it for your build. High-performance components are an excellent choice for gamers who need the most powerful gaming experience possible.
Once you have chosen the components for your build, it is time to assemble the components. This process can be complex, but the rewards are well worth the effort. There are plenty of online resources to help you out, such as instructional videos, guides, and forums. Having the proper tools and a workspace will help you build your gaming PC quickly and safely.
Now that you have your gaming PC build established, you will need to configure it. This involves making sure BIOS settings and other aspects are adjusted correctly for optimal performance. Additionally, you may opt to customize the look of your PC with a custom-made case and components that match your individual tastes.
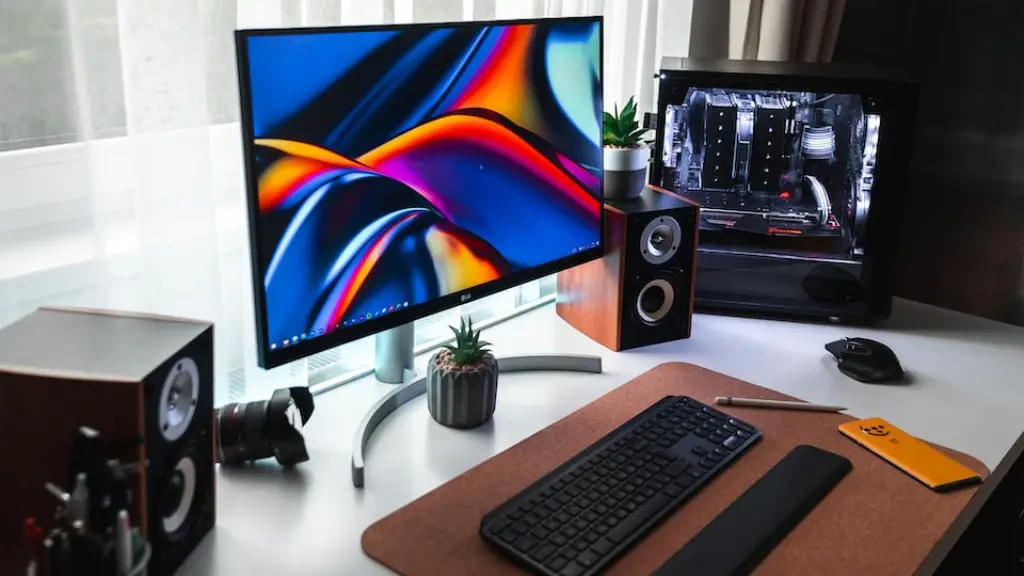
A key component to any gaming PC setup is the peripherals. Depending on the type of games you plan to play, you may need a monitor, keyboard, mouse, and headset. Each of these peripherals should be researched and tested to make sure they are compatible with your gaming PC if you intend to get the most out of your gaming experience.
Finally, your gaming PC setup isn’t complete until you adjust the Windows settings. Check to make sure the power settings are set correctly and make sure your hard drive is optimally configured and partitioned correctly. You may also need to install graphics card drivers and other software depending on the type and model of your components.
Choosing Components
Choosing the right components for your gaming PC build can be daunting due to the seemingly endless array of options. Before you start researching and comparing parts, it is important to have a budget and a plan in place. Consider the type of games you will be playing and the settings you want to play them at when making your component selection.
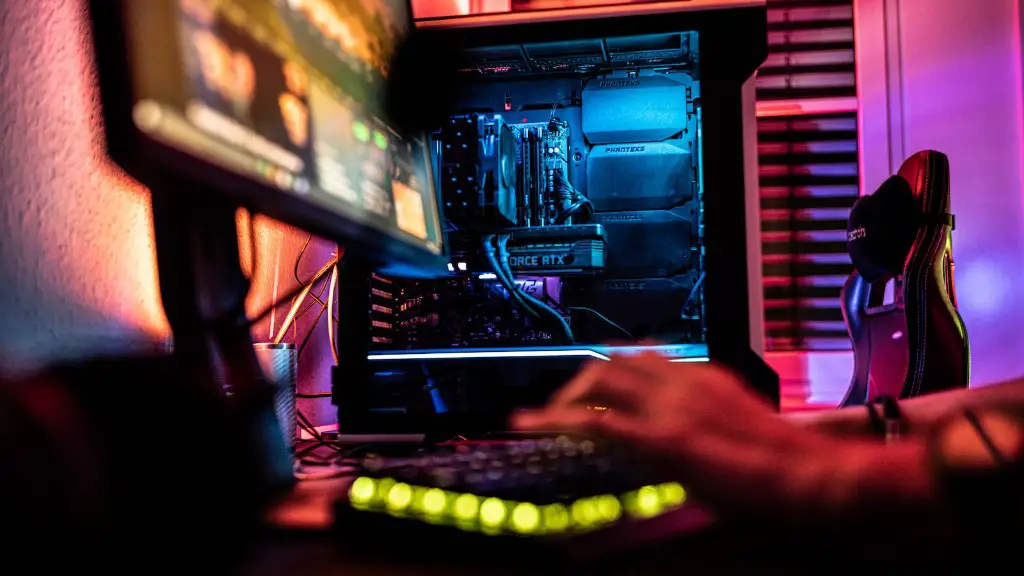
The main components that you will need include the processor, graphics card, motherboard, memory, hard drive, and a power supply unit. You will also need a case and other accessories, such as a monitor, keyboard, mouse, and headset if you don’t plan to reuse any existing devices.
When selecting a processor, it is important to consider the clock speed, number of cores, and price. High-end processors can offer more performance and are a great choice for gamers who want the best gaming experience but they come at a premium. If you plan to do a lot of multimedia and gaming, then a mid-range processor is usually a good bet.
The graphics card is the most important component for any gaming PC. It’s the component that determines the visuals that you will get with your games. The latest cards offer better performance, improved visuals, and support for newer game features. For the best gaming experience, look for a dedicated card with at least 3GB of memory, a good memory clock, and at least 4GB of VRAM.
Motherboards come in many sizes and are usually the most expensive component in any gaming PC build. Mid-range and high-end options offer more features, better performance, and more room for expansion. Be sure to choose a motherboard that supports the components you will be using and make sure to check the socket compatibility if you are buying a processor that requires a dedicated socket type.
System memory and storage solutions are also important considerations. For memory, 8GB is the minimum recommended amount but you may want to go up to 16GB or 32GB if your budget allows it. For storage, if you plan on storing large files then you should look for a large hard drive or pair a fast SSD with a large HDD for the best of both worlds.
Finally, a good power supply is essential for powering all of your components. The wattage need depends on your build, so make sure to buy a power supply with sufficient wattage to support your components.
Assembling The Components
Now that you have chosen the components for your gaming PC setup, it is time to assemble them. This is a complex process and attention to detail is key. Make sure to read the manuals for your components and watch instructional videos or tutorials to guide you through the process.
Before you start to assemble, make sure to take necessary safety precautions. Wear an anti-static wrist-strap, reserve a clean workspace with plenty of light, and keep your workspace free of dust and debris. Additionally, make sure you have the necessary tools such as a screwdriver, pliers, and a wire cutter.
To begin, mount the processor on the motherboard, secure it with the specified socket, and attach the necessary cables. Next, attach the RAM to the appropriate slots and plug in the necessary cables. Install the graphics card in the necessary PCI slot and connect it to the power supply. Then, connect the hard drive, power supply, and optical drive.
Make sure to double-check all connections and ensure they are secure. Once all components are connected, you can install the processor heatsink and fan, cover the motherboard and components with the case, and connect your peripherals.
You may also want to add customizations to your rig, such as a custom case, liquid cooling system, or additional fans. These components require more skill and experience to install, so tread carefully if you are new to this process.
Once you have finished assembling the components, make sure you reconnect the power switch to the motherboard. It is also important to check for any errors before powering up the system.
Configuring BIOS Settings
Before you can power up the system, you must configure the BIOS in order to get the most out of your gaming PC. BIOS stands for Basic Input/Output System and it allows you to make changes to system settings, such as assigning hard drives, setting boot order, and adjusting system timing. Many components also require BIOS configuration.
To enter the BIOS, you must restart the PC and press the appropriate key such as Del, F2, Esc, or a combination of keys during the start-up process. Once you are in the BIOS, you must adjust the system settings, such as CPU and memory clock speed, memory timings, and system voltages. You may also need to enable certain features or disable others to ensure compatibility.
Once you have finished making changes in the BIOS, you should save and exit the settings and restart the system to make sure the changes have taken effect. This is an important step, as it ensures that your hardware is properly detected and configured. Skyrim players may also want to enable game-specific settings, such as latency and graphics quality, for optimal performance in game.
It is advised to research each setting before making changes to the BIOS, as some changes could result in system instability or incompatibilities. It is also a good idea to use a BIOS reset utility if you make any changes you are unsure of.
Installing Peripherals
Having the right peripherals can make or break your gaming experience. Monitors come in different sizes, resolutions, and refresh rates. If you plan on playing competitive games, then a monitor with a higher refresh rate can help you have the edge over other players. Make sure to research and try out monitors before making a final decision.
A quality keyboard and mouse, such as a mechanical keyboard and gaming mouse, can help to streamline your gaming experience. Mechanical keyboards generally offer better tactile feedback and faster response times than standard keyboards. Choose a gaming mouse that is comfortable to use and offers high performance features, such as polling rates, dpi, and programmable buttons.
A headset is essential if you plan on joining the audio conversations in games and on streaming services like Twitch. Quality headsets can offer immersive sound and noise cancellation, making them invaluable in helping gamers to pick up cues and communicate effectively with others. Some headsets also feature a microphone, allowing you to communicate with other players and streamers.
Installing peripherals is as simple as plugging them in, though some may require additional drivers or software in order to work properly. Once they are connected, configure the peripherals’ settings to fine-tune their performance and make sure the proper drivers are installed.
Tweaking Windows Settings
Once you have all your components and peripherals installed, it is time to optimize Windows for gaming. This is done by making sure the power settings on your PC are put on the ‘High Performance’ option, since it is the most efficient for gaming. Additionally, you should disable any unnecessary programs and services to free up more resources.
Another important step in optimizing Windows for gaming is to partition your hard drive. This allows you to install programs and store files on different partitions, making them easier to manage and free up more space. After partitioning the hard drive, it is important to defragment it to ensure programs load quickly and efficiently.
You should also make sure that you have installed the latest graphics card drivers. Newer games often require the latest drivers for the best performance and visuals. The same goes for other components such as the motherboard and processor – make sure you have the latest drivers installed.
Yet another important step is to install any additional programs you plan to use. This includes gaming-related programs such as Discord (for chat), Overwolf (for mods), and MSI Afterburner (for monitoring and overclocking). These programs can be installed by simply downloading them and running the setup files.
Building A Gaming PC: Final Notes
Building and configuring your gaming PC can be a difficult process, but a little research and preparation can go a long way in ensuring the best gaming setup possible. Be sure to research each component carefully and ensure they are compatible with the others. Once you have selected the parts and assembled them, it is time to configure the BIOS, install the peripherals, and tweak Windows for the best gaming experience.
